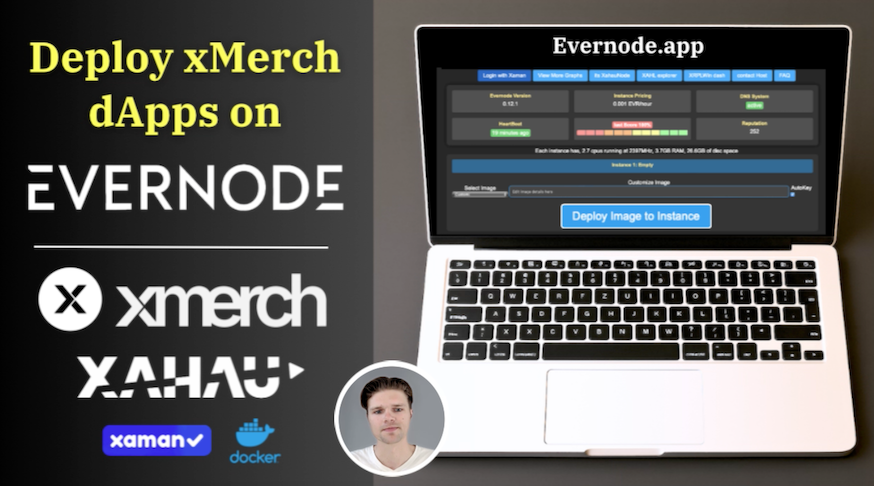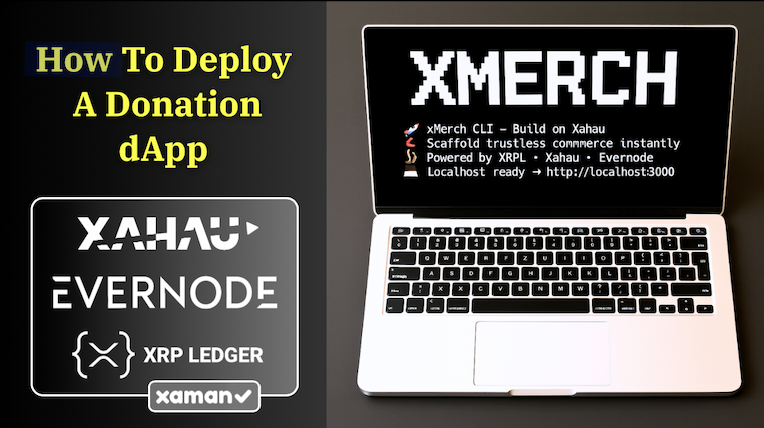

Build and Deploy xMerch dApps to Evernode
xMerch gives you ready to use templates for building dApps on Xahau, and Evernode.app helps you host those apps as Docker images on the Evernode network.
In this article, we’ll customize an xMerch landing page + payment dApp, package it, and deploy it live to Evernode in 10 simple steps.
Prerequisites:
Have the following set up before starting:
- Node.js (Mac Tutorial) (PC Tutorial)
- VS Code (Tutorial)
- A Xaman developer wallet (Tutorial)
- Docker (Tutorial)
Instructions:
1. Update the xMerch CLI: pnpm add -g xmerch
2. Create a New Project:
a. pnpm dlx xmerch@latest create my-app
b. Choose a template
c. Enter the project: cd my-app
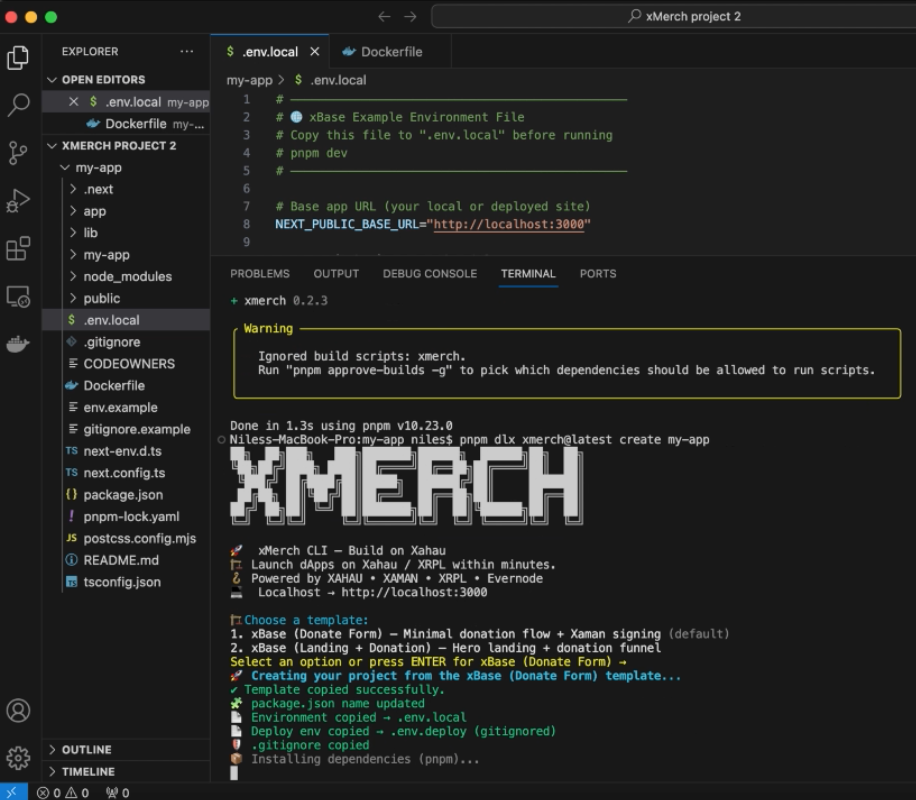 New xMerch Project
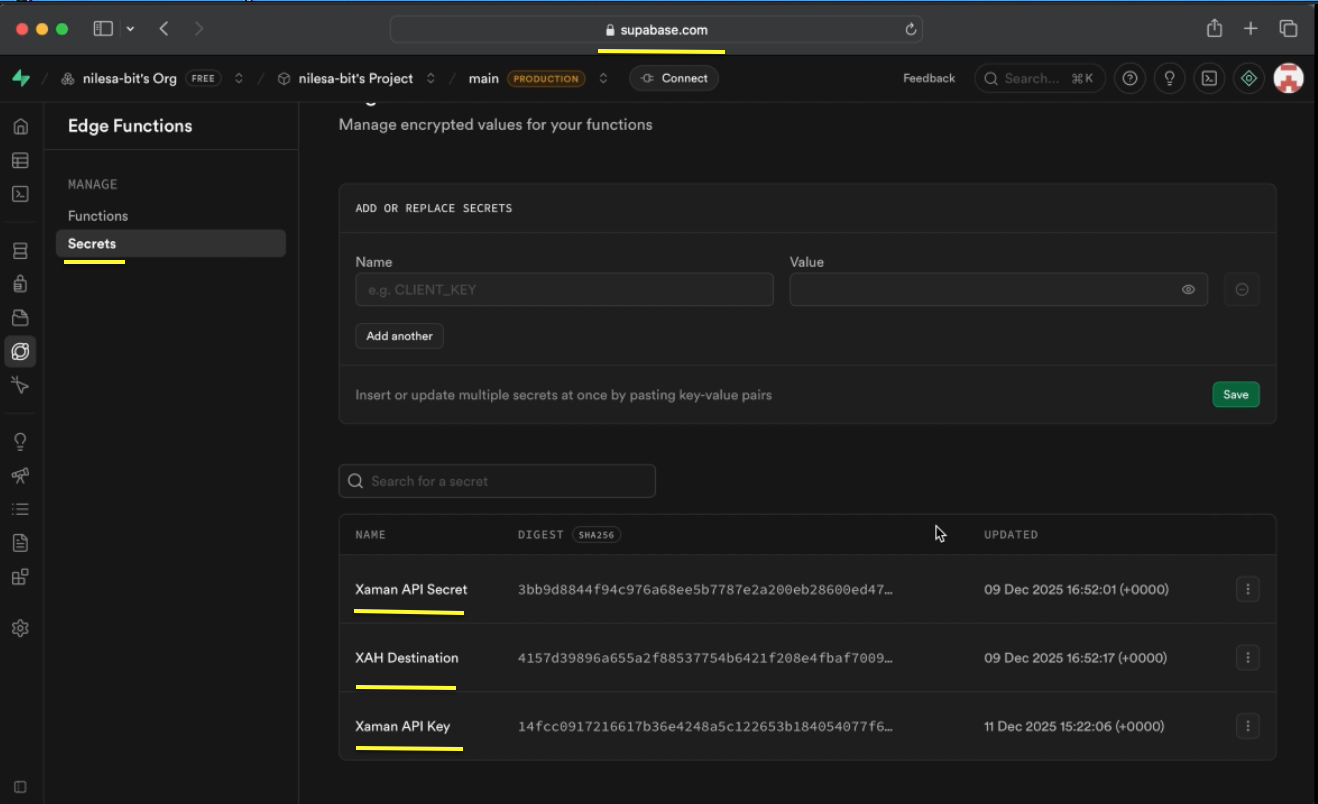
3. Set up Supabase:
a. Log on to Supabase and create a new project.
b. Open Project Settings → Edge Functions → Secrets
c. Add the following credentials:
XAMAN_API_KEY
XAMAN_API_SECRET
XRPL/XAHAU WALLET_ADDRESS
d. Go to Project Settings → Data API → Copy your Project URL
e. Go to Project Settings → API Keys → Copy your anon key
 Adding Credentials to Supabase
4. Generate a Docker Hub Personal Access Token:
a. Go to https://hub.docker.com/settings/security
b. Create Access Token → Select Read/Write
c. Copy the token
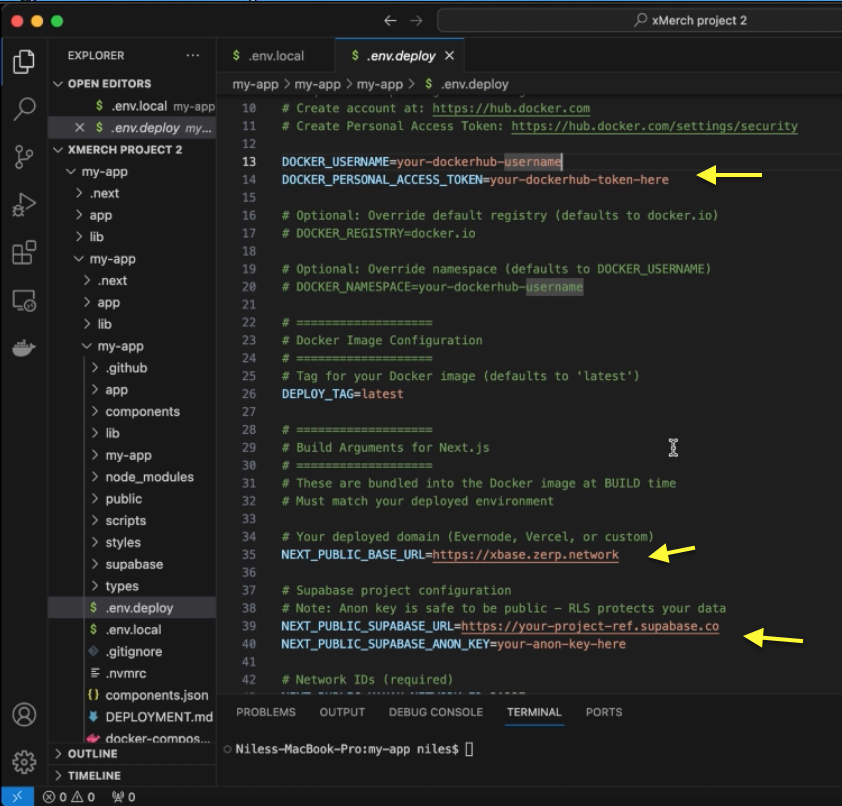
5. Configure .env.deploy:
a. Locate the file named .env.deploy in the root of your app.
b. Add your Docker Hub details:
DOCKER_USERNAME=your-username
DOCKER_PERSONAL_ACCESS_TOKEN=your-token
c. Add your Supabase values:
NEXT_PUBLIC_SUPABASE_URL=your-project-url
NEXT_PUBLIC_SUPABASE_ANON_KEY=your-anon-key
d. Update NEXT_PUBLIC_BASE_URL if you already know your Evernode subdomain (Optional).
e. Save the file (File → Save or Cmd+S / Ctrl+S).
 Configuring env.deploy File
6. Customize Your xMerch dApp Template
a. In VS Code, open the page.tsx file in your xMerch project.
b. Edit the landing page copy with your own content. Generate new copy with an AI tool if you want a quick starting point.
c. Save the file so the updates are included in the production build.
7. Run a Sanity Check Build: pnpm build (Optional)
8. Build and Push Your Docker Image: xmerch deploy --docker
a. Copy the Evernode deployment tag that gets printed.
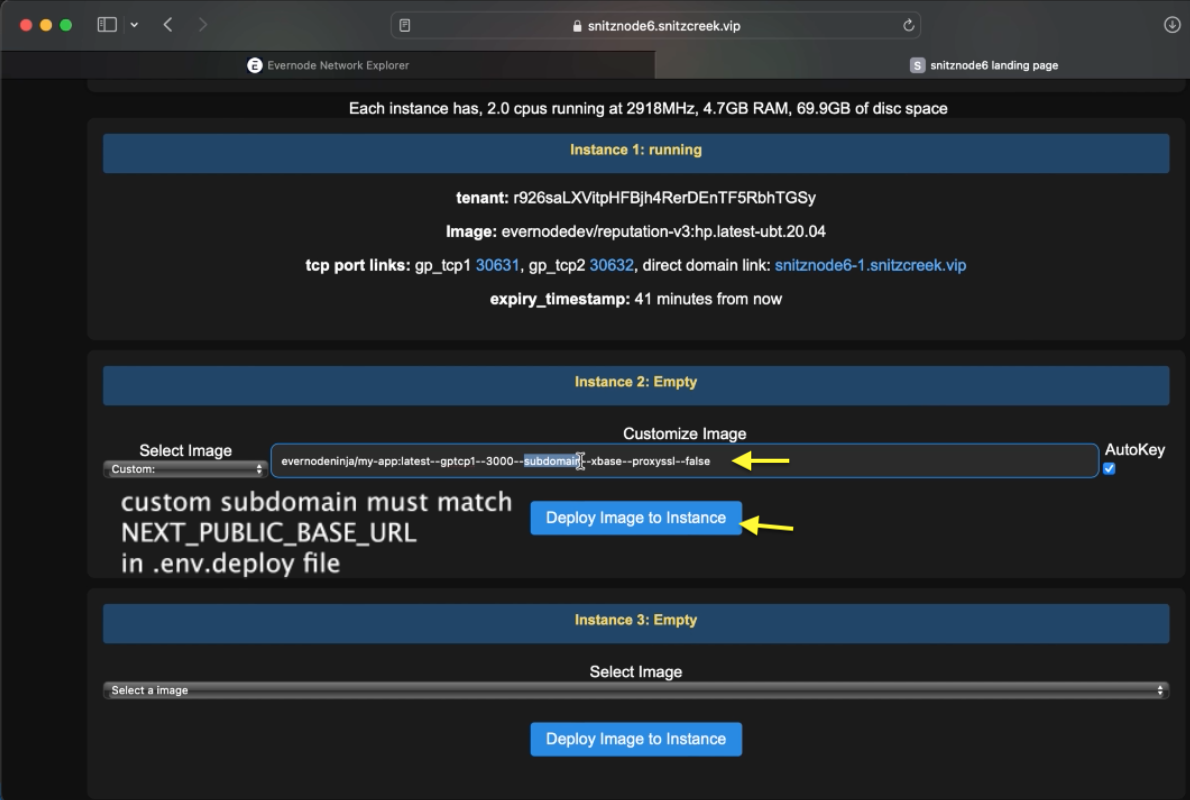
9. Deploy on Evernode:
a. Go to https://evernode.app/?tab=explorer
b. Select a host and available instance.
c. Choose "Custom Docker Image" from dropdown.
d. Paste your image name/tag (use exactly what xMerch printed)
e. Add custom subdomain (Optional)
f. Click Deploy
g. Sign in with Xaman by scanning the QR code.
h. Sign the payment transaction to lease the instance.
 Deploy to Evernode
10. Access Your Live dApp:
a. Click the direct domain link on the instance page.
b. Your dApp is now live on Evernode.
c. Add more runtime on the landing page (Optional)
Watch the full video tutorial here
More About xBase:
xBase is the default starter template included with the xMerch CLI. It’s a friendly setup built with Next.js, Xaman, and XRPL + Xahau, giving you everything you need to start building trustless commerce apps. It scaffolds a fully working Web3-native dApp wired for:
- Xaman authentication
- XRPL + Xahau payment payloads
- Next.js 16 + Tailwind + Framer Motion
- Minimal backend API routes
No backend servers required.
Helpful Links:
Xaman Wallet: https://xaman.app
Xahau Network: https://xahau.network
VS Code: https://code.visualstudio.com/download
Evernode: https://www.evernode.org
Docker: https://www.docker.com/
Node.js: https://nodejs.org
xMerch CLI: https://www.npmjs.com/package/xmerch
xMerch Testing & Feedback: https://github.com/mworks-proj/xmerch-testing